


A Guide to Photographing LED Displays
LED displays are impressive feats of signage, but capturing that on camera can be difficult. Photos often come out blurry, the display graphics can be illegible, and the photos may not show the entire sign display.
By understanding a few concepts and making adjustments to your camera’s settings, your LED sign photographs can improve significantly.
Here are some helpful tips to get you started on creating a portfolio’s worth of great photos of LED display installations.
Preparations for a Site Visit
Before visiting a site to photograph the digital signage, take some time to prepare.
Check the weather in advance to schedule a shoot day with ideal sky conditions. Avoid rainy or stormy weather and aim for blue skies. If possible, shoot the sign during different times of day—dawn, dusk, daylight, etc. Avoid shooting at night and also avoid shooting into direct, bright sunlight. Take photos of the shaded side of the sign to get a better exposure.
Take time to walk around the site and look for angles that help to eliminate or diminish distractions in the photos, like installation equipment, power lines, unfinished projects or landscaping, trash, and clutter. Also keep in mind display proximity and shoot within an appropriate viewing distance to capture the entire sign and the location around it. Plan to shoot images from multiple angles.

Schedule an assortment of messaging to run on the sign so that you photograph a variety of content.
Camera Settings
Shutter Speed. LED displays are similar to other electronics like TVs, computer monitors, and devices that require the screen to refresh. Often this appears as bars or lines onscreen when photographed because it is constantly refreshing. Slowing the shutter speed will help resolve this issue by giving the modules time to get in sync.

The first camera adjustment to make is to set the shutter priority mode, often denoted as “Tv” or “S.” These settings will automatically set the ISO and aperture to ensure proper exposure.
If the preset camera modes do not achieve the results you want, the next option is to use Manual Mode “M.”
Lower your shutter speed to 1/15s, 1/30s, 1/60s, or 1/125s. These slower shutter speeds help to simulate the sign’s refresh rate. The lower the shutter speed, the steadier the camera needs to be to prevent blurry images, so consider using a tripod on a steady surface when settings are below 1/60s. For long exposure shots, try using a timer release setting, wireless remote, or shutter release cable.
ISO. Once you’ve changed the shutter speed, you may also need to change the ISO, which adjusts your camera’s sensitivity to light. Allowing the shutter to stay open longer allows more light into the camera. However, if it stays open too long, the photos will be blown out or over exposed, especially on bright, sunny days. One way to prevent this is to set your camera’s ISO setting as low as it will go, typically 100.

You can increase the ISO when not in direct sunlight but rarely should you go above 400 when shooting outdoors. Low ISO levels will also produce the cleanest images with minimal digital noise. If using Shutter Priority Mode, this should be adjusted for you automatically.
F-Stop. Finally, when in manual mode, adjust the f-stop settings to control the camera’s aperture settings. The f-stop controls how much light can reach the image sensor inside a digital camera.
When you’re using a lower shutter speed, you’ll likely need to increase the f-stop to prevent washed out, overexposed photos. Use the highest f-stop number available on your camera (typically f/16 to f/22). The higher the f-stop number, also known as a narrow or small aperture, the less light allowed in. This compensates for the slow shutter speed and makes for a better overall exposure. This should also be adjusted automatically if using Shutter Priority Mode.
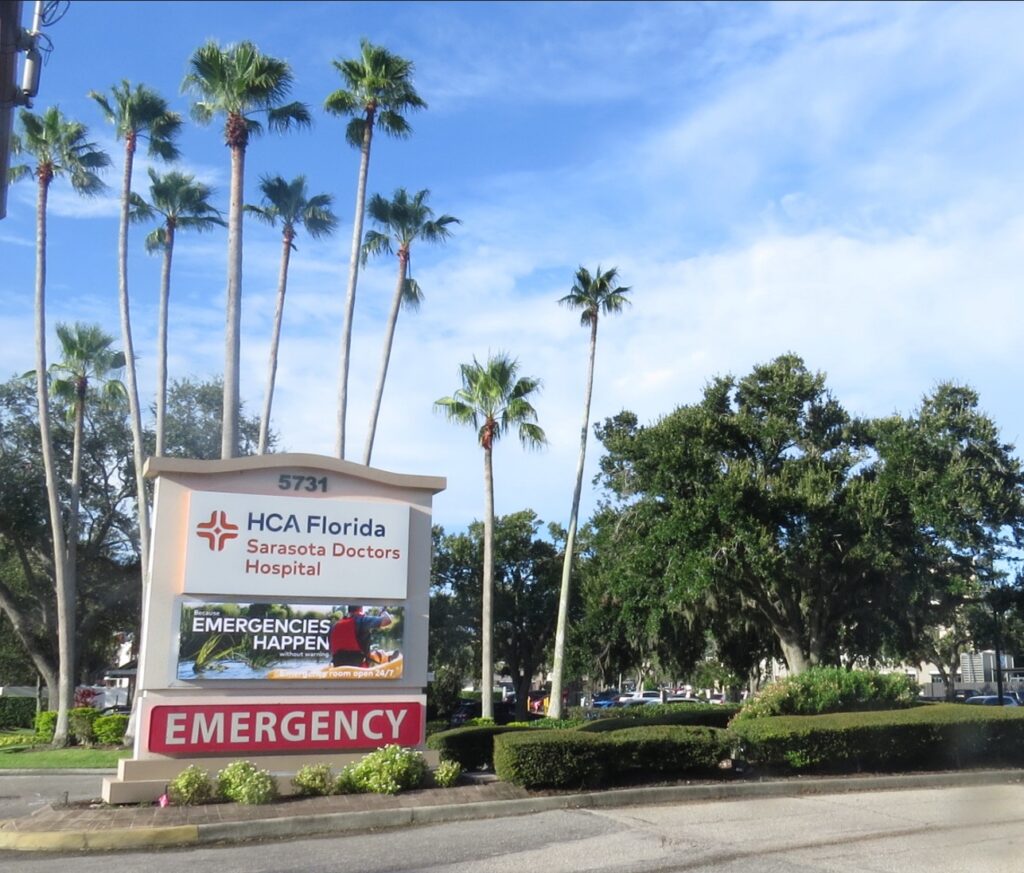
Examples of Successful LED Display Photos


In need of a new digital display? Contact Optec Displays today for a quote at 800-876-1668.